After finally fixing my scar design and having it the right way around:) I did a practice shoot on one of my friends as I wanted to feel more prepared and comfortable this time. Because when we were doing our actual first application(we have to use the images from that for our final submission) I feel very unprepared and didn't really know what to do. Because I don't want that to happen again I decided it would be good to practice. Also for this scar mould I slightly( but only slightly ^^) messed up the colouring and it was too yellow. So it was perfect for practice.
Before you start make sure your workplace is set up and you have all the products you need. Also have your cape or black towel ready as your are working with glue, alcohol and other coulours and you don't want to ruin your models clothes. Also have your research images and face chart for the character Makeup look with you(if needed-> depends on the character you designed). But the research images are the really important images as you need them to get your placing and colouring right.
Let's start.
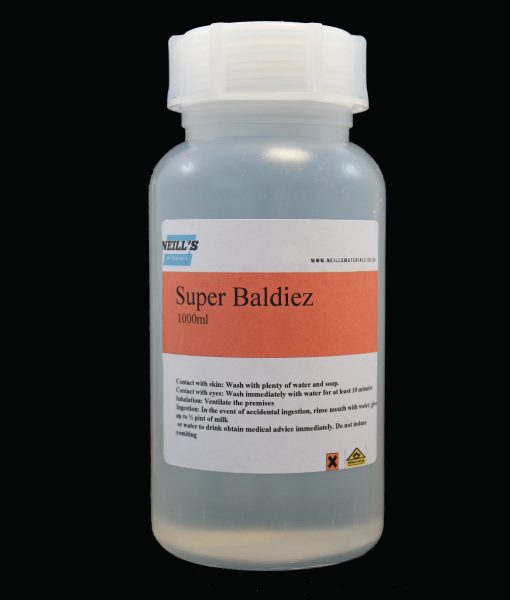
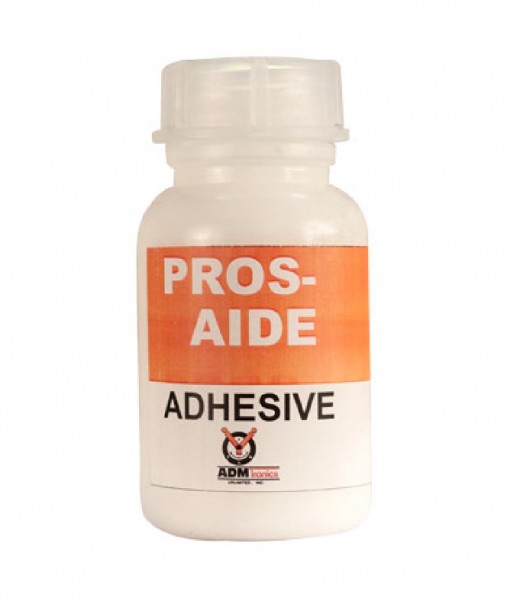
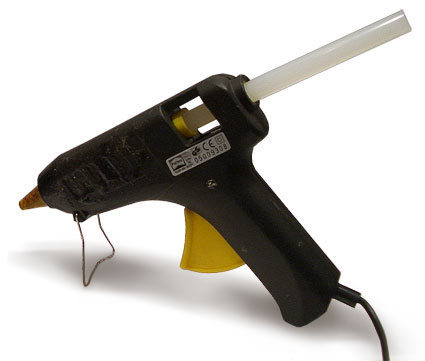
First off, I cut a bit of the blending layer( Baldiez layer) away as I didn't need all of it and applied the Pros Aid glue. I left it on my workplace surface to dry and started doing the face Makeup on my model. I think it's a good way of doing it as the Pros Aid takes some time to dry and before you waste any time by just sitting around and wait for the glue to dry you just get on with the makeup.
For the Makeup I wanted to use more autumny colours and do a simple winged eyeliner line.
Products:
- pros aid
- alcohol
- baby buds
- cotton pads
- Holika Holika Jewel-light Peach Eye Maker
- mascara
- black eyeliner
- brush kit
- BhCosmetics lip palette
- Illamasqua translucent powder
- Illamasqua sculpting duo
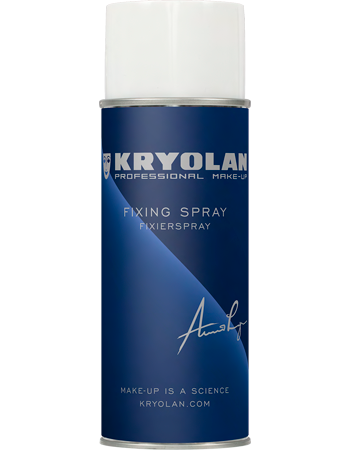
- Foundation (Kryolan/ Catrice)
- eyebrow gel
- eyebrow kit
- hair band
- paddle brush
- comb
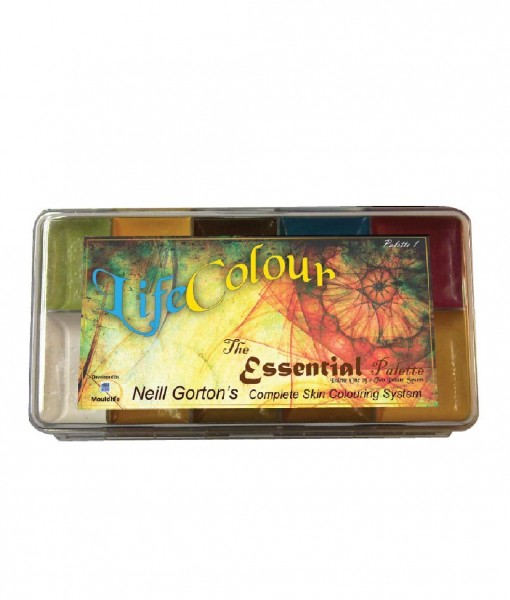
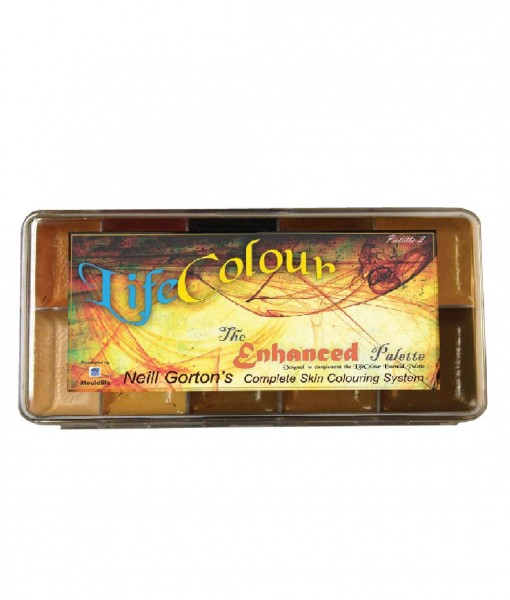
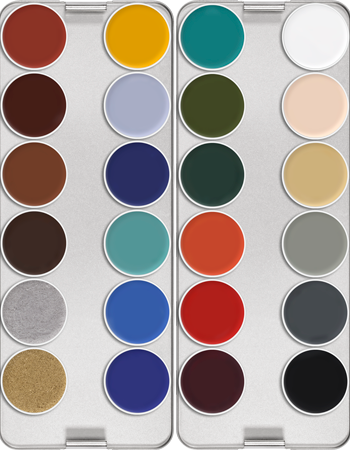
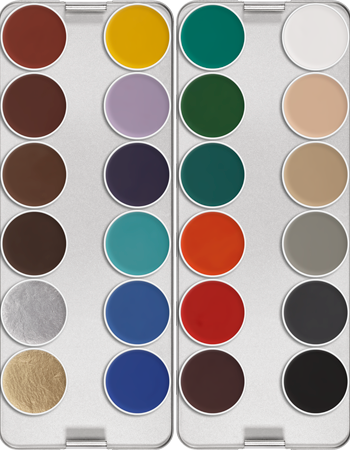
- supercolor palette
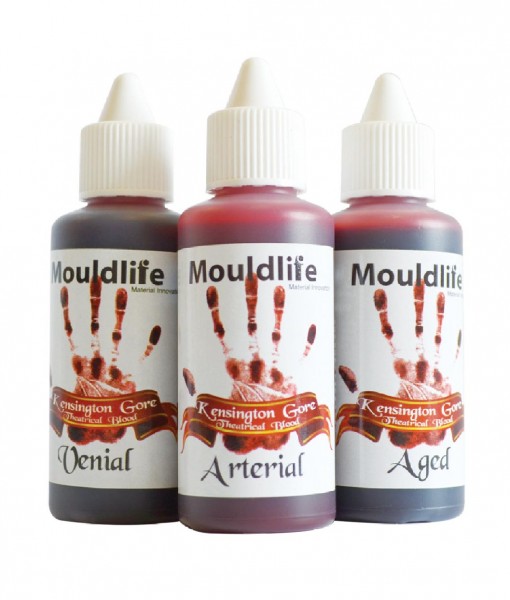
- alcohol based flesh colour palette
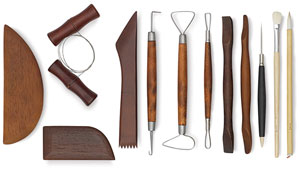
- bigger wooden brushes
- baby powder
- Pros aid remover
- bowls for alcohol and pros aid
The Face Chart:

Makeup Step by Step:
- first make sure face is clean ( not a tiny bit of old Makeup left) and that you prepare the skin(cleanse, tone and moisturize where needed->dry areas )
- add primer
- apply the foundation and buff in/blend in well-> we want nice looking skin
- apply translucent powder and make sure to cover especially the eye area as we don't want any foundation in the eye creases as well as in the fine lines under the eyes
- do light contouring on face-> make sure it's not overly dramatic as we want the skin to look natural
- fill in eyebrows with a tone that matches your model and apply some eyebrow gel to fix the eyebrows
- eyes: apply the Holika Holika Jewel-light Peach Eye Maker in the outer corners of the eyes and blend them inwards-> but only until you reach about the middle of your eye; make sure both sides are the same and balanced; then with the same colour go to the outer corners underneath the eye and to a fine line until you reach the middle of the eye-> using your ring finger blend out the line so it is not looking so harsh anymore-> now use the other side of the Holika Holika pencil (which is a pale peachy glitter) and apply in in the inner corners-> using your ring finger again blend out the glitter towards the outer corners so they will have a slight shimmery finish; next you do the eyeliner, use a nice deep black and do a nice winged eyeliner-> depending on eye form you maybe have to adjust the wings-> as my model was Asian the eyeliner turned not out the way I waned it to be so I had to keep adjusting it. You really have to pay attention when doing eyeliner on mono lids as they sometimes tend to disappear as soon as the eyes open.
- now curl eyelashes and apply mascara
- apply only a tiny bit of blush onto the cheeks, I used a peachy colour which would go with the eyes-> but make sure you barely see the blusher
- lips: for the lips I used a berry colour from my BhCosmetics lip palette
The Hair:
- for the hair I decided to just do a messy bun
-> side note: while you are doing the Makeup keep checking how the Pros Aid on your scar is drying? If it is nearly dry apply some Pros Aid onto the skin where you want to apply the scar. I noticed that the glue is drying on skin way faster then on the mould so I do it just before the glue on the scar is dry. Also check that the ends don't curl up after you applied the glue on the scar. Also you apply the glue on the flat side but I think that is kind of obvious.
Applying the scar:
- after the glue went clear and is tacky ,carefully apply it onto the skin
- before you properly apply it make sure the placing is absolutely right
- place it on skin and press it gently down
- pour some alcohol in a bowl and get baby buds
- start blending away the Baldiez layer
- keep blending away until you can't see anymore-> remember that it has to look real and you don't want to see any edges
- when you are done blending take some pictures to see how it looks on the camera-> sometimes you see things on the camera you didn't notice before
- after I have done the application I apply a tiny bit of baby powder onto it as it makes it less sticky
- start colouring
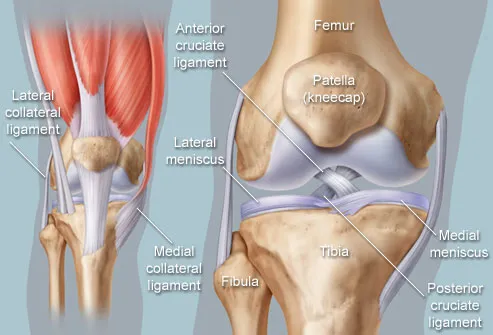
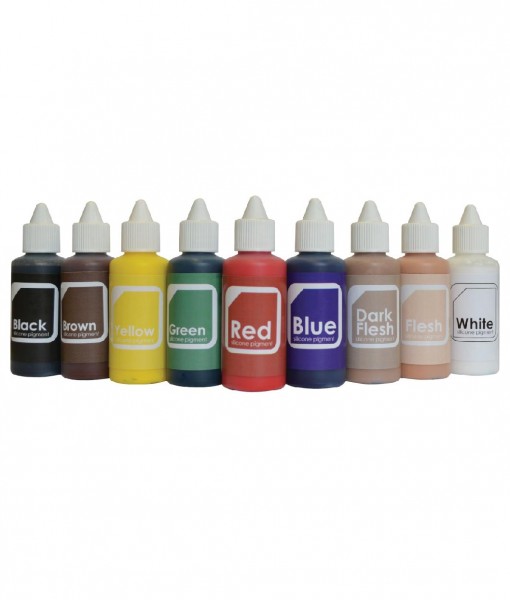
- first use the alcohol based flesh colours and match the overall skin tone of the knee
- after matching the basic skin tones go into more detail->get help from your reference images
- because I want the main scar to be lighter than the actual skin tone I added some 'Alabastar' from the Kryolan foundation and white supercolor onto it; go over with the lightest colour of the flesh color palette-> just to make sure it is still matching even though you make it lighter
- around the scar you can also add some yellow; darker flesh tones and red tones but make sure they are subtle and that you blend them very well
- on the research images of my sisters scar you can see that the two little scars from the tube are still slightly red so I added some different red tones from the supercolor palette -> if it is too pigmented just add a bit of flesh colour over it again
- keep doing this until you are satisfied with your scar and the colour tones
- now take some pictures with camera again so you see how the colours look on camera
- if everything is fine , take more close up's, different angles and mid-length shots
- if not correct the colours first and then check it on camera again
I took this picture from just the application with my phone and it seems like the edges are very well blended. It is still a bit shimmery but you can tone that down by brushing baby powder over it

The following images now were taken with a Canon camera and proper lighting.
As I said with my phone camera it looked like the edges were completely blended but here you can still see some on the right side and at the bottom. But I noticed it always depends in which angle you shoot because sometimes the edges didn't show up when I changed the angle.

In the image below you can see that on the right side of the main scar the silicone edges are not so nice. So when doing the mould for the actual scar shooting I have to pay more attention to it


Some images from the side


Coloured Scar

Tried a different angle to see if you maybe won't see the edges on right side too much,but you can still see them

Side view

Full body image

Makeup and Hair
(the camera setting was good for the scar but it washed out her face colour so much, but you can still see the Makeup so it's fine^^)


Thoughts on the practice shoot:
I thought at the beginning that the blending went really well but as you can see , there were still some edges on the right side and bottom which only showed up later when I used a different camera and lighting. That means I will need to pay attention to the blending for the actual shoot. But otherwise I was quite satisfied with the application. When applying the colour I also first thought I matched it quite well but then again in the studio the colours looked a bit different on camera. There were some spots where the skin tone is too dark. When matching the skin tone at the beginning I started off with the lightest tone and mixed in some darker ones as your skin hasn't got only one tone but I think I should have either blended them in more or I should have gone over it with the lighter colour again to tone it down-> I actually tried it after taking the first images and I noticed that the skin is partly too dark but hmm somehow it didn't change much. Another thing is that somehow the scar looks quite big on her. There are two options. Either the scar is actually too big or it's just that her knee is smaller than I imagined .So I may try the scar on someone else to see how it looks on them. But after finishing the sculpture and doing the mould I compared it to my sisters scar and I thought the sizing is quite alright. The only thing I don't like about the scar mould is that the top stands out a bit too much. I should have probably made it more flatter. As for the Makeup I think I just have to take in consideration what kind of eyes the model has when doing the winged eyeliner


